In this Lesson we’re going to go through SEO, or Search Engine Optimization. SEO is the process of increasing the quality and quantity of website traffic by increasing visibility of your website or a web page to users of a web search engine.
So to begin with Google SEO, we’re going to start with a brand new website. I’m going to use a test site, desiringboba.
Before going through setting up Google SEO, this is how it would have looked like before when you googled desiringboba. Note: Because of the time that has passed since doing this tutorial, if you were to google it now, you would see the website on top.
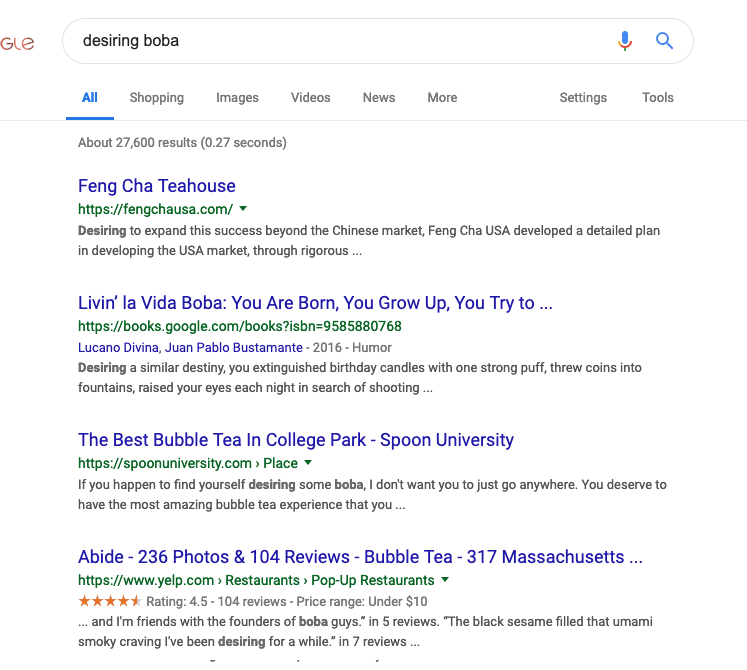
If you want to see how yours looks like right now, google your website name or website address.
Not much right? Well, with Yoast SEO we’ll be able to fix it!
1. Log into your website. <domainname.xx/wp-admin>
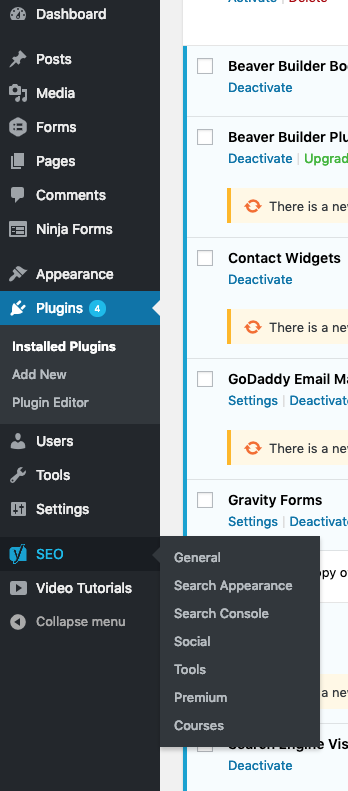
2. Go to the plugins on your website.
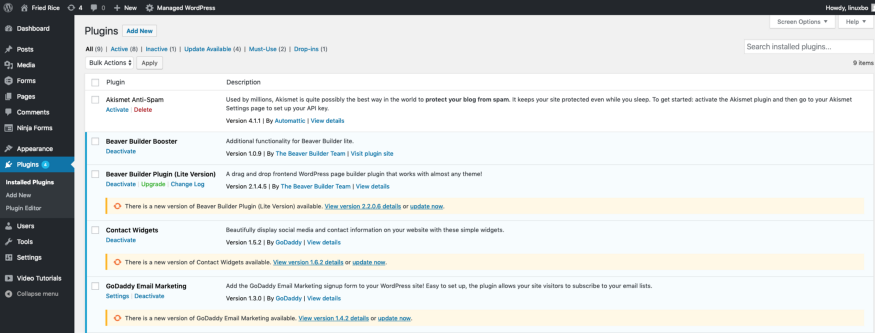
3. Click on Add New on the top.
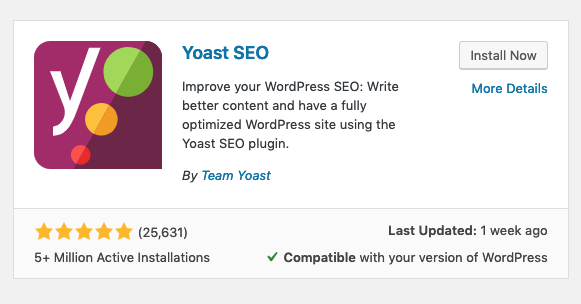
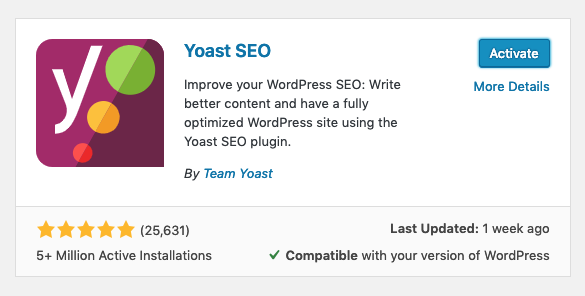
4. Click on Popular and Yoast SEO should be on the top row, if not look it up on the search bar.

5. Click on Install Now on the Yoast SEO Plugin
6. Click on Activate
7. Click on General on the Yoast Plugin (SEO) on the left hand sidebar
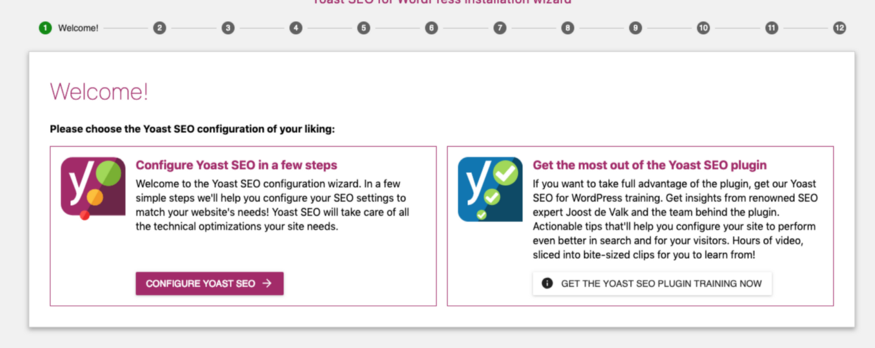
8. Click the blue Configuration Wizard Link

9. Click on Configure Yoast SEO
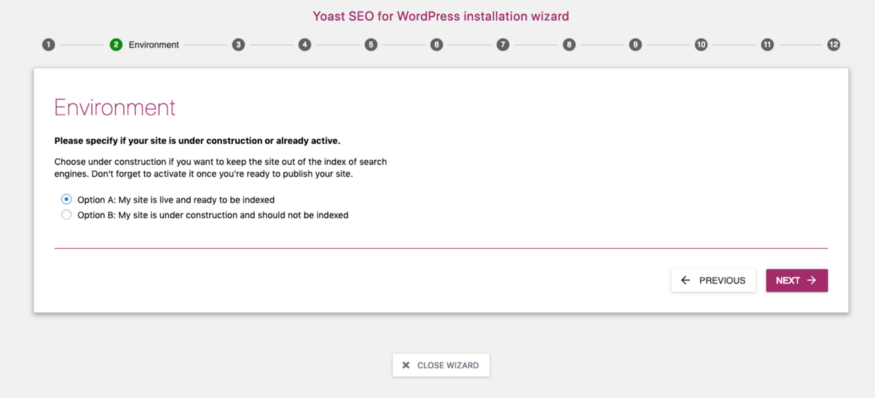
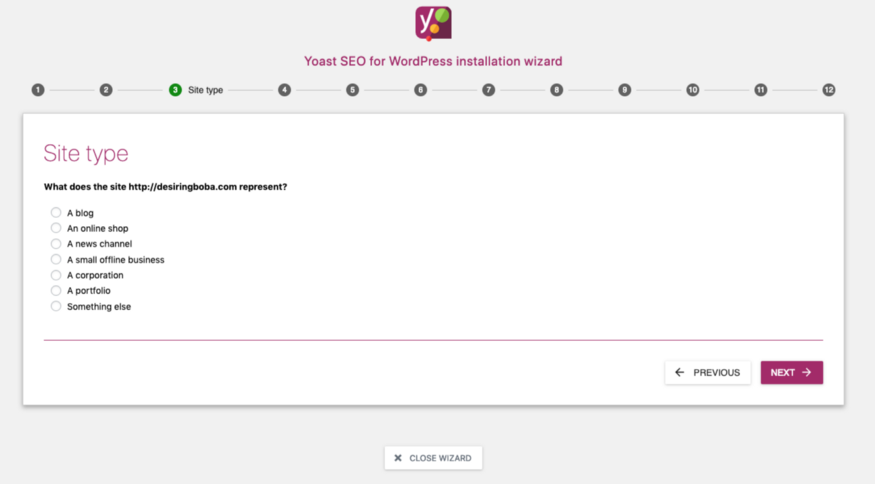
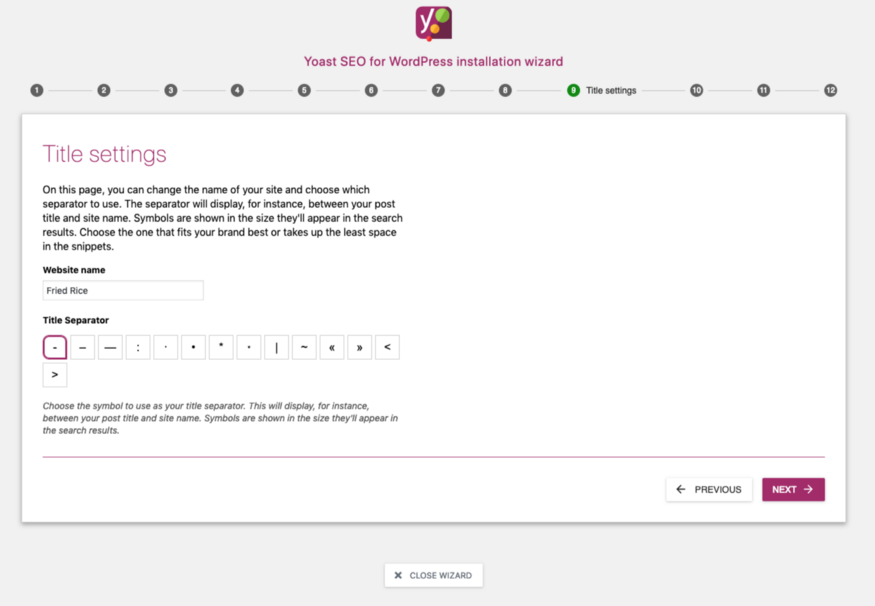
10. Select Option A
11. Click on Next or choose to fill out the following information
12. Click on Next or choose to fill out the following information

13. (If you clicked on Company) Click on Next or choose to fill out the following information
14. Click on Next or choose to fill out the following information
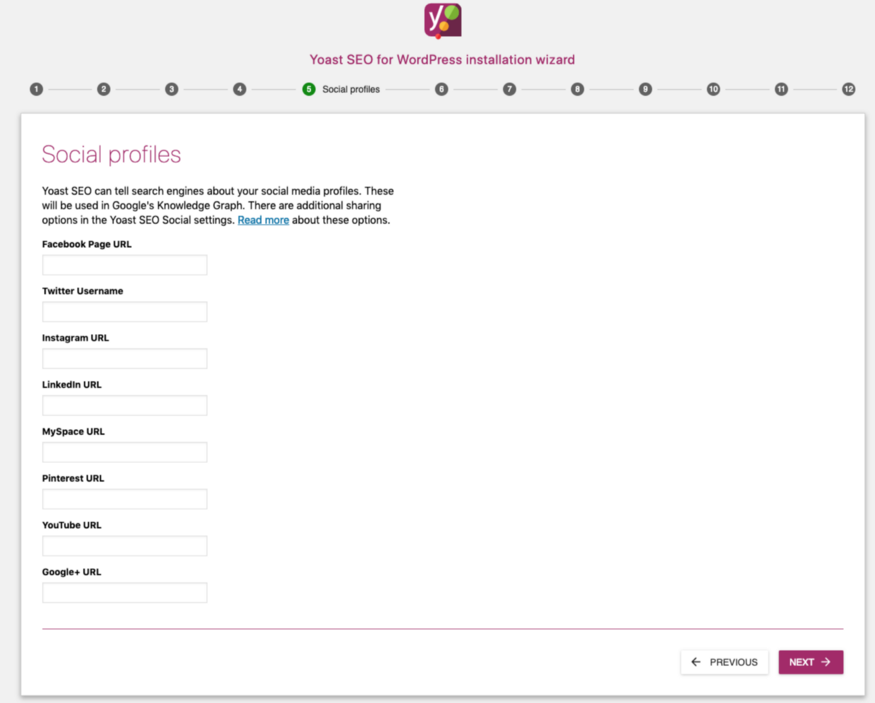
15. Click on Next or choose to fill out the following information
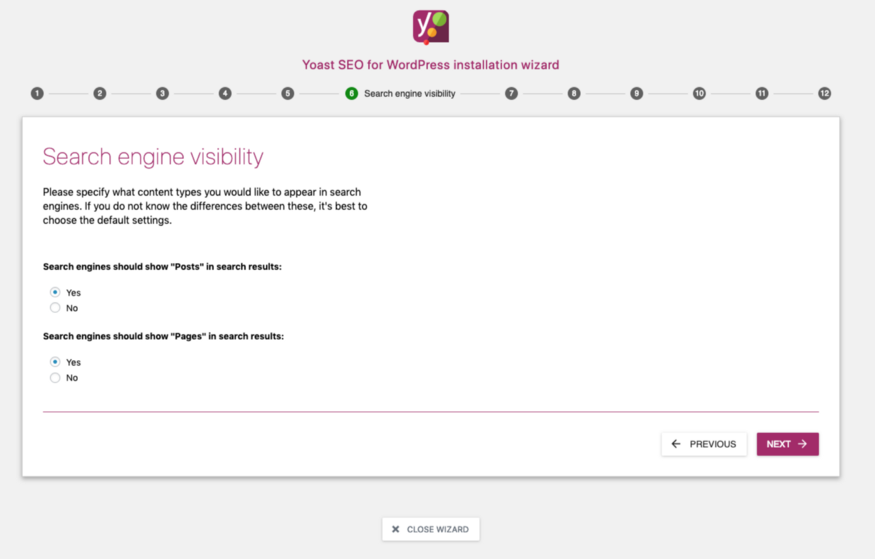
16. Click on Next. This is important! DO NOT retrieve your Google Authorization Code. (If this page does not show up, don’t worry about it)

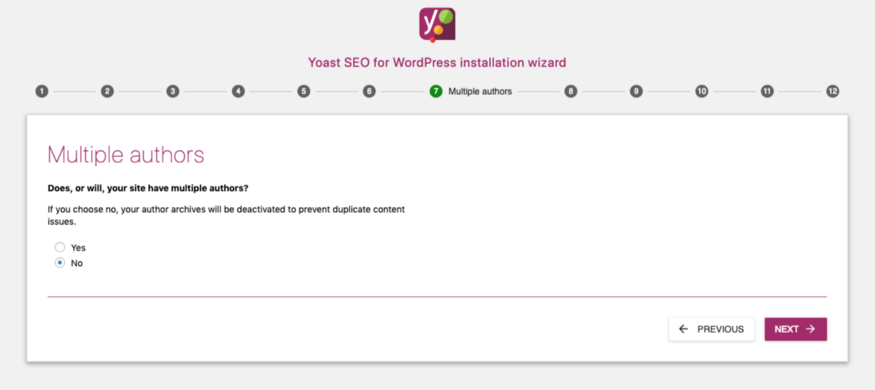
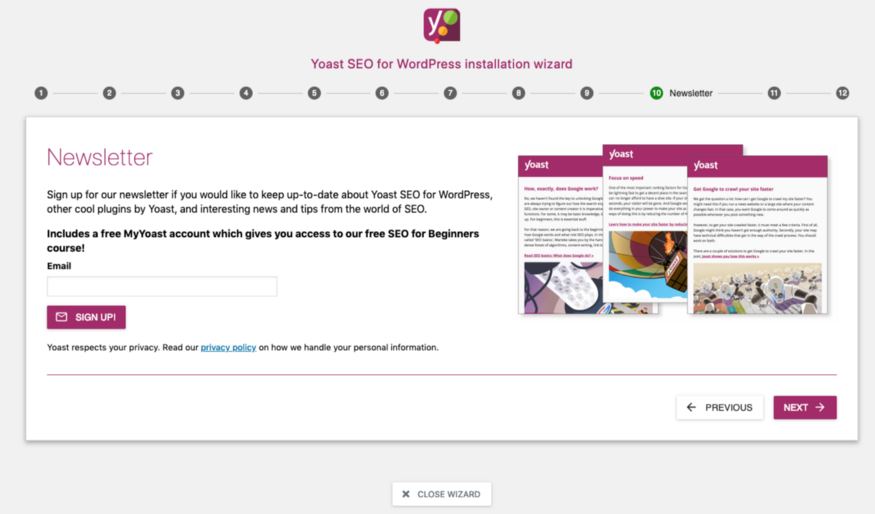
17. Click on Next or choose to fill out the following information
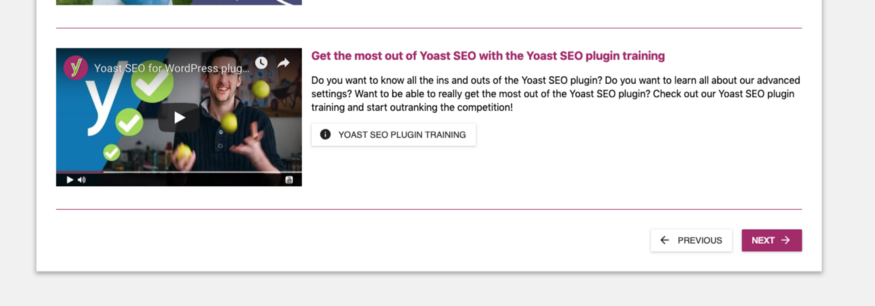
18. Click on Next
19. Click on Next (may not show up)
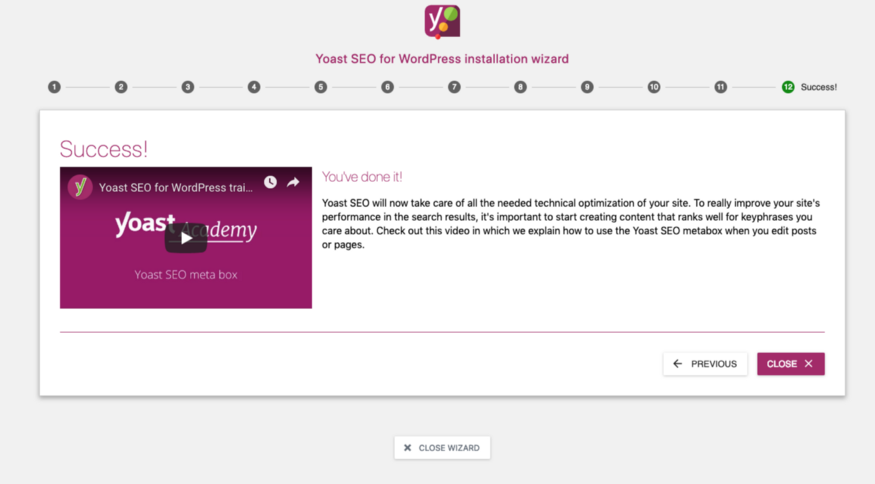
20. Click on Close
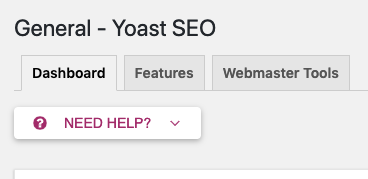
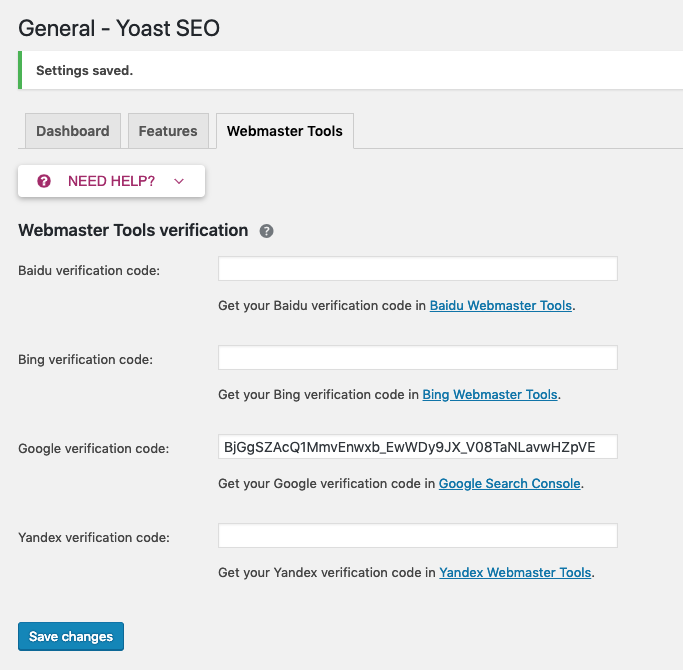
21. Navigate to the Webmaster Tools tab on the Yoast page.
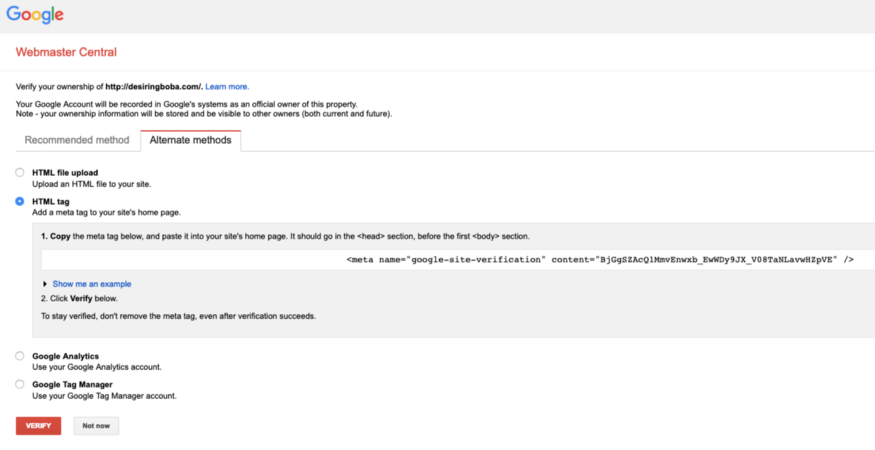
22. Click the Google Search Console link to retrieve your Google Verification Code.
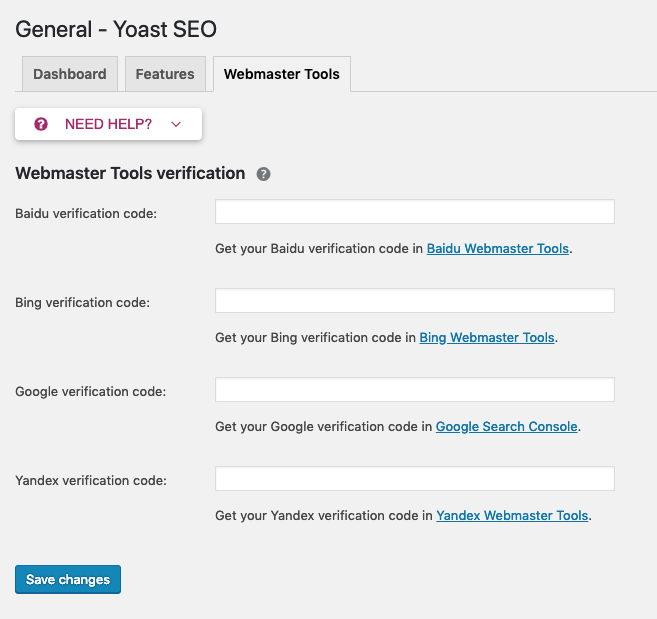
23. Select the HTML Tag option to verify your ownership of your website using the HTML Tag option.
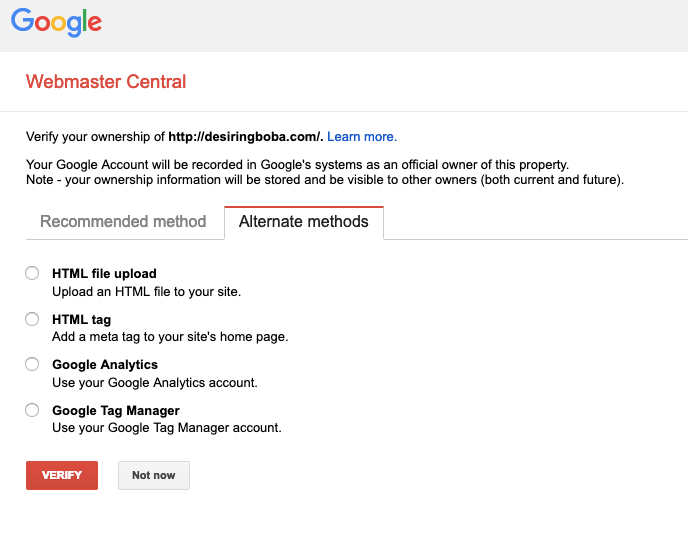
24. Copy the meta code

25. Navigate back to the Yoast SEO page and only enter the content tag in your Google Verification Code. Note: This is kind of nuanced, but you may need to copy and paste the entire <meta> tag and just delete anything that isn’t the content information.
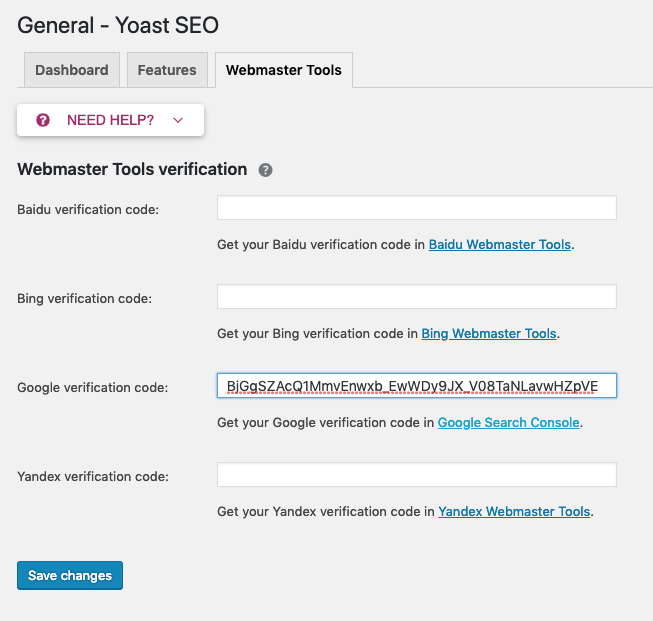
26. Click on Save Changes
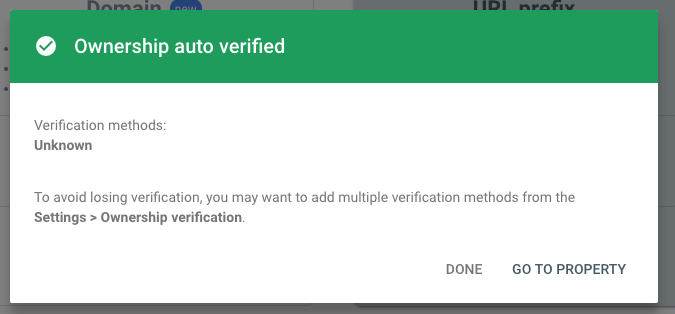
27. Return to the Google Search Console and click Verify
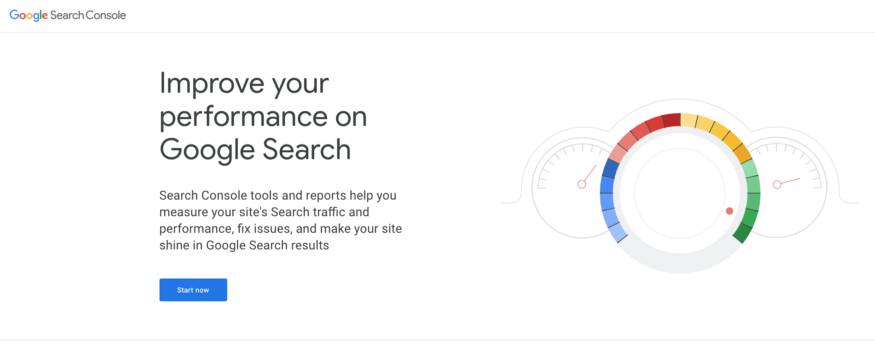
28. Congratulations! Google now knows you own the website. Click on Search Console.

29. Click Start Now.
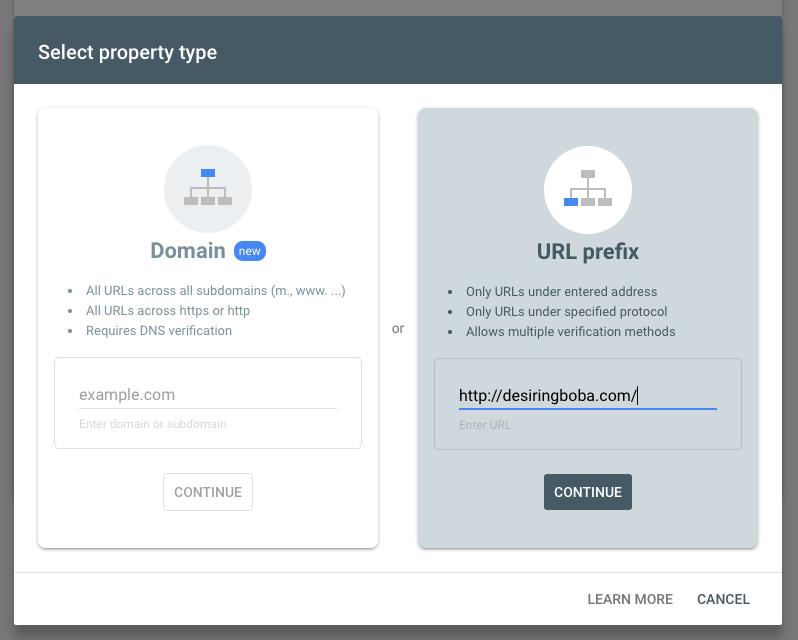
30. Click Add Property
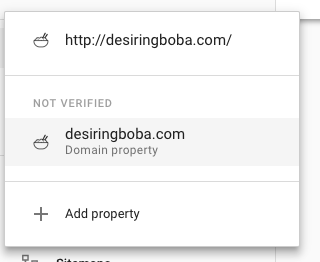
31. Enter the name of your website and click Continue. Note: When entering the name of your website, enter ‘http://’ and then your website name. For example: http://34.218.241.77
32. Click Go To Property
33. Congratulations! You’ve now kickstarted Google’s indexing process. We call it a web spider and it’s currently crawling all over your website to find information (don’t worry it is not an actual spider)
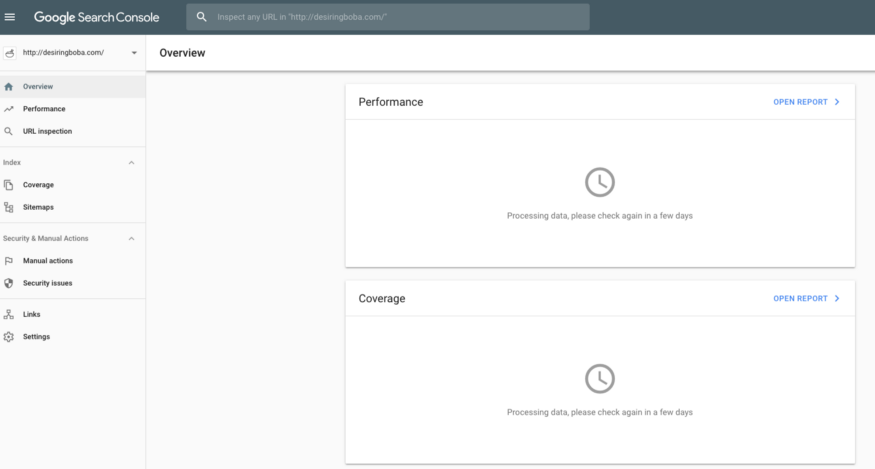
34. Just sit tight and in a few days you should be good to go!