In this lesson we will be going over the basics of WordPress and how to navigate it.
Let’s look over the essential areas one at a time.
Dashboard
The Dashboard is a helpful information hub that summarizes what is going on with your website. While you normally wouldn’t spend that much time on the Dashboard, it is nice to quick see the information.
1a. Log into your website if you haven’t already.
1b. If you are logged in then click on Dashboard on the top left if you aren’t there currently.

2. In the Dashboard we can see a quick snapshot about what is going on with our website. You can customize your Dashboard to include certain information and exclude other.
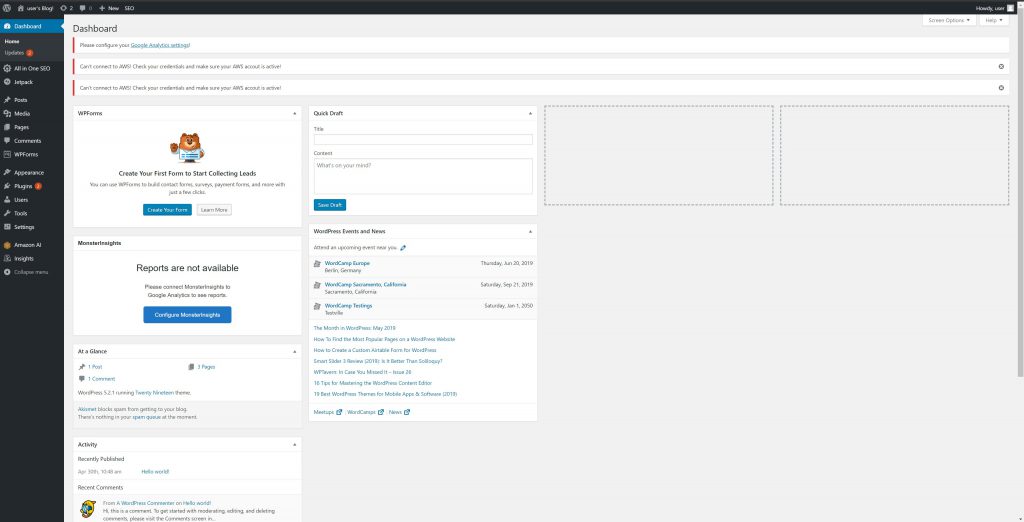
3. Feel free to remove some of the blocks there that don’t seem helpful and organize the ones that you want. Just drag the blocks to the column you want.
Before my Dashboard looked like the picture above, but now it looks like this:

As you can see, I only have information about how many people are on my website, how much money I’ve made from my store, and how many pages I have on my website.
Media
The Media tab is where all our documents, pictures, videos, and any other files are stored for us to access. While we won’t always be using this tab, it doesn’t hurt to familiarize ourselves with it.
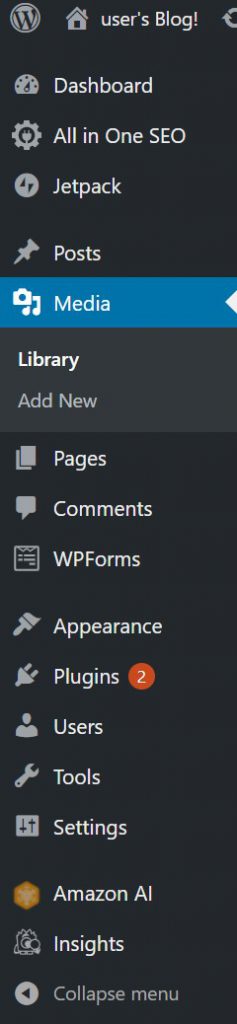
1 Click on the Media tab on the left hand side.
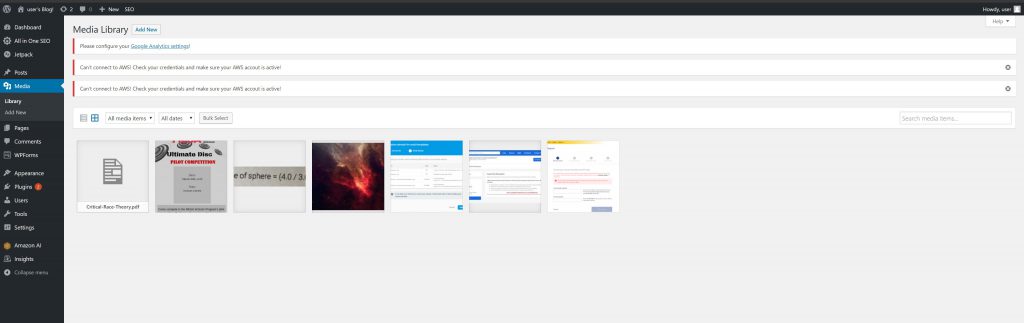
2. Your Media tab is going to look a bit empty, but you haven’t upload any documents just yet. Once you upload some pictures and documents, it’ll look like this:
3. Go ahead and drag a picture from your desktop or file system onto your Media tab. It’ll get uploaded onto your Media tab and you’ll be able to use it around your website. We will go over how to do this later in the lessons.
4. If you click on your new file, you’ll see that something new pops up. Here we can change details about our file.
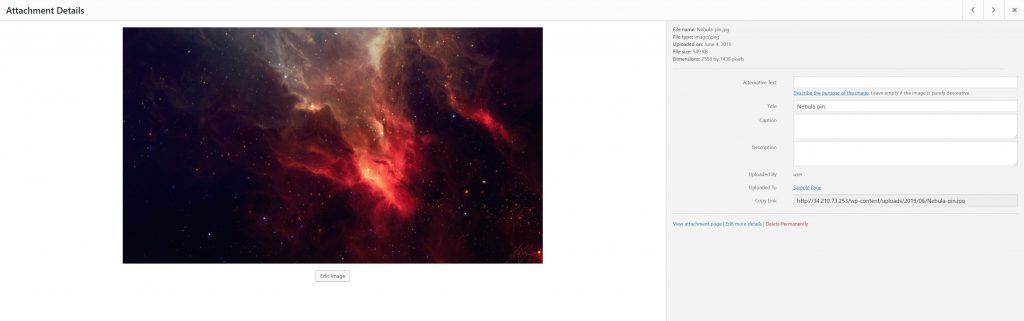
5. You can change the files title, add a description, and add a caption to it. You can even edit it even deeper if you click on Edit More Details.
Pages
In the pages tab, we can see all the pages that belong to our website. We will go more in depth about the page later in the lessons. For now, we can briefly go over what is on this page.
1. Click on the Pages tab on the left hand side.
2. In the pages tab, we can see how many total pages we have on our website. Because we just made our website, we should have a total of 3 pages.
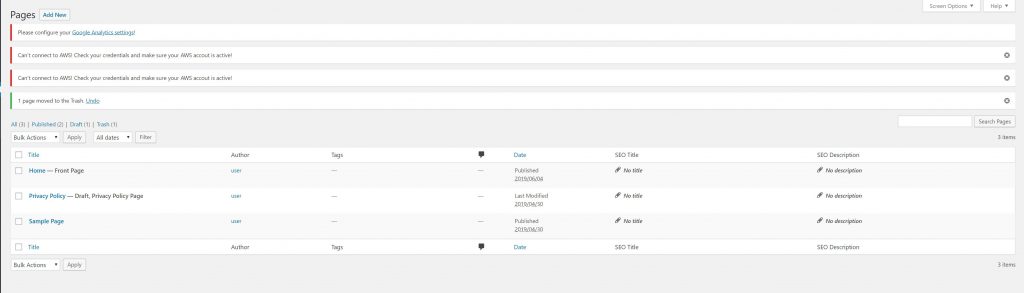
3. These pages were created by WordPress when we first created the website. The homepage is the first page people see when visit. (For the most part)
4. There are other bits of information as well, such as Author, Tags, Comments, Date Published, SEO Title, and SEO Description.
5. These other bits of information are for you to know what the page is about before even clicking on it.
6. In this tab we can also create a new page, but we will be doing that at a later time.
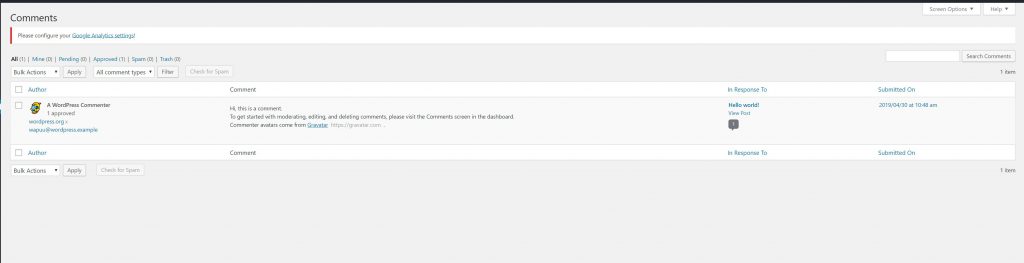
Comments
The Comments tab is where we can see the comments that have been left by users. You would need to set up comments on your page(s) for this tab to be useful.
1 Click on the Comments tab on the left side.
2. Once on the Comments page, you should see that one comment is on your page. This was automatically created by WordPress when the website was first created.
3. If you hover over the comment, you can see additional things that you can do.

4. You can approve/unapprove comments as you like, reply to it, delete, and other things. This way you can control that there are no bad/negative comments on your page if you want.