1. We’re going to be going back to Amazon Lightsail. Ask the class mentors to log you in.
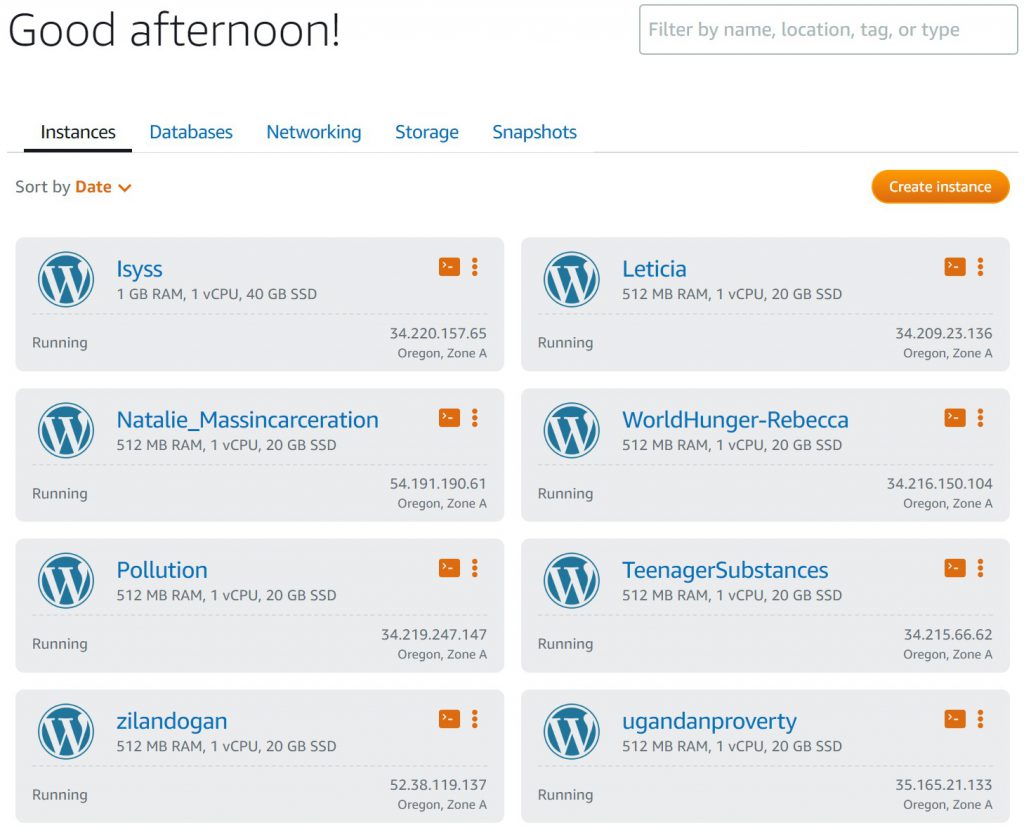
2. Access your Amazon Lightsail account (the Instance you made at the very beginning).
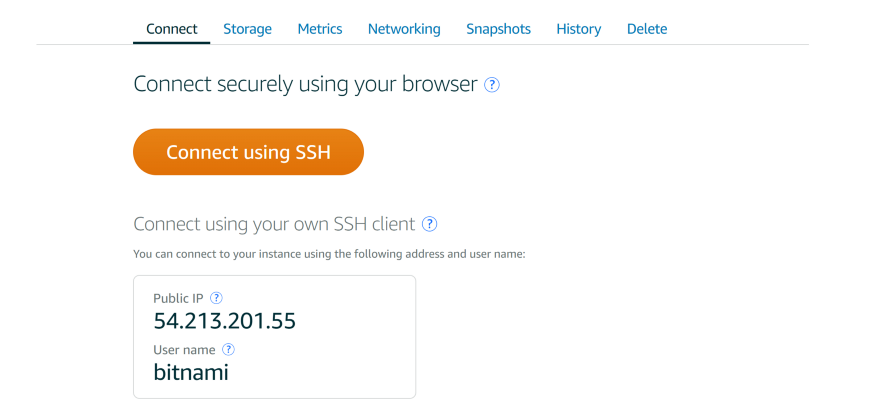
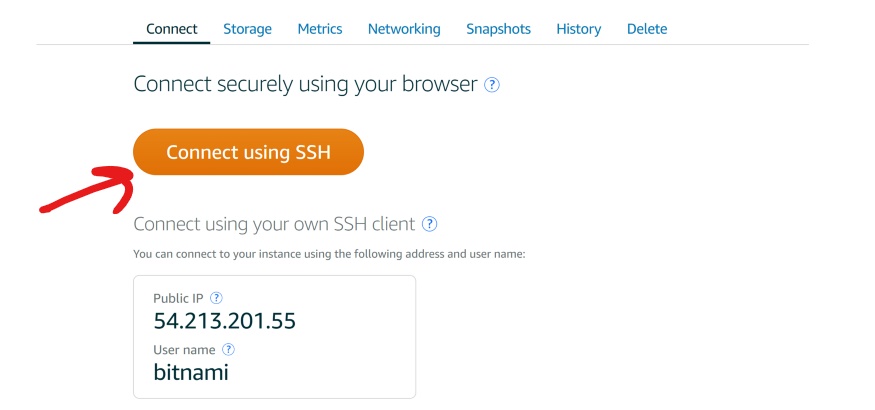
3. Select the Connect using SSH button. This brings up a very official looking black screen that we’ve seen before.
4. Type in the code below. You can find it on the Bitnami help website!. Note: Just for some added context (if you want to learn more about terminals), sudo is a command that tells the terminal that you are the superuser (short for superuser do, similar to an administrator on a computer). The following text is the directory of the file we are trying to change. The –disable_banner is pretty straight forward, we are changing a line of the file bnconfig. 1, in this case, means true (0 is false, 1 is true) so we are changing the file to disable the banner without having full access to that folder.
sudo /opt/bitnami/apps/wordpress/bnconfig --disable_banner 1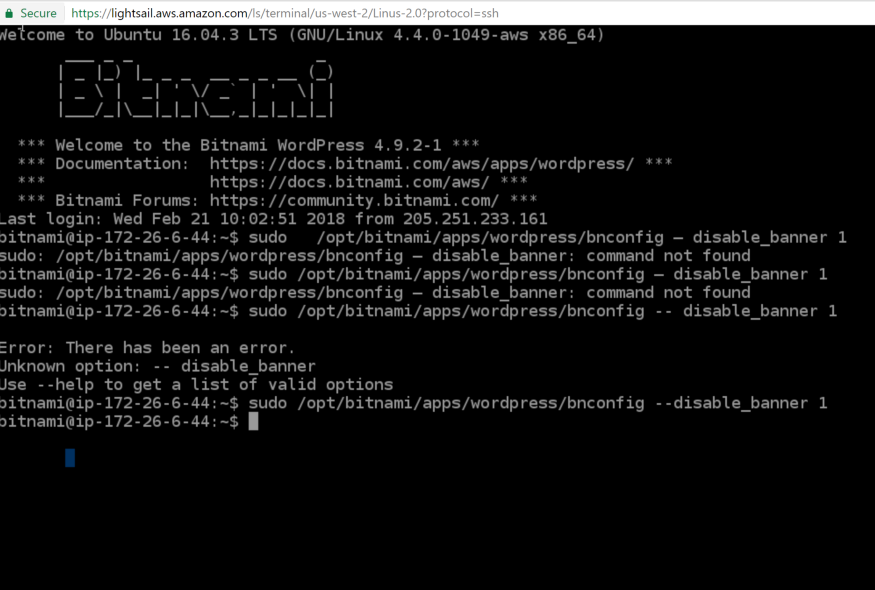
5. Voila! Your website no longer has the Bitnami logo peeking out from behind.